
If there’s one dish that elegantly balances comfort and sophistication, it’s Chicken Parmesan. That perfect harmony of juicy chicken, crisp crust, tangy sauce, and melted cheese—it’s almost musical when done right. But here’s the kicker: you don’t need a vat of oil to achieve that restaurant-quality crunch. The Crispy Baked Chicken Parmesan recipe, when mastered, gives you all the texture and depth without the grease. And yes, even the pros sometimes mess it up—either too soggy or too dry. Let’s fix that.
Understanding the Essence of Chicken Parmesan
Chicken Parmesan, or Chicken Parmigiana if you want to sound fancy, came from Italian-American kitchens, not Italy itself. It’s inspired by eggplant parmigiana, but over the years, chicken took center stage. The secret lies in that golden trifecta—perfectly breaded chicken, rich marinara, and molten mozzarella. But most people think frying is the only way to get that crunch. Nope. With the right technique, baking can give you a superior result. Cleaner, lighter, and dare I say—more flavorful.
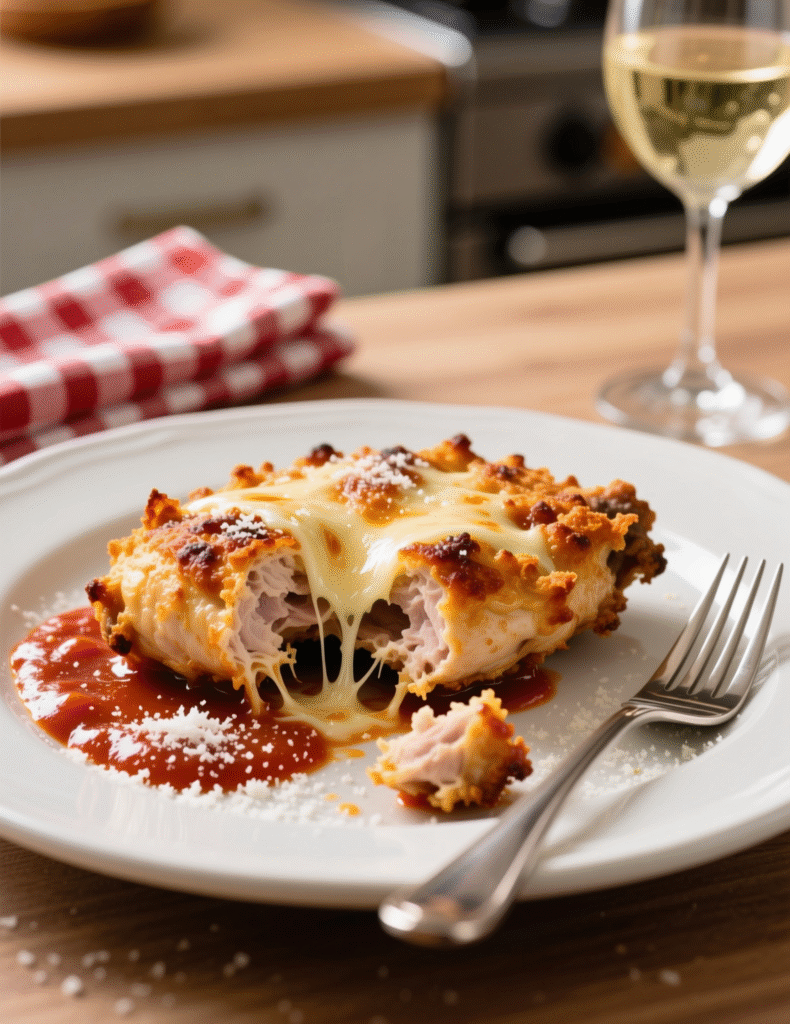
A properly baked Chicken Parmesan keeps its crisp exterior even under the sauce. That’s the art here—achieving textural contrast. Crunch and tenderness. Cheese and sauce, locked in balance.
Ingredients (For 4 Servings)
- 4 boneless, skinless chicken breasts (about 6–7 oz each)
- 1 cup panko breadcrumbs
- ½ cup Italian-style breadcrumbs
- ½ cup grated Parmesan cheese (freshly grated, please)
- 2 large eggs
- ½ cup all-purpose flour
- 1 tsp garlic powder
- 1 tsp onion powder
- ½ tsp smoked paprika
- ½ tsp kosher salt
- ¼ tsp black pepper
- 2 tbsp olive oil
- 1 ½ cups marinara sauce (homemade or high-quality store-bought)
- 1 cup shredded mozzarella cheese
- Fresh basil leaves, for garnish
- Optional: a few drops of olive oil spray for extra crunch
Why Baking Works—The Science Behind It
Let’s talk science for a minute. Frying gives crispness through rapid dehydration—water escaping from the surface as oil seals the coating. Baking does something similar, but slower. When you combine panko (which is lighter and airier) with olive oil, you mimic the Maillard reaction of frying. The oven’s dry heat creates that same crunch, but it’s more controlled.
The trick is pre-toasting your breadcrumbs. Yes, toast them before coating. It sounds unnecessary, but it ensures uniform browning and prevents sogginess later. A lot of home cooks skip that and then wonder why the crust looks pale. Toast your crumbs—golden before they even hit the oven.
Step-by-Step Process: Expert Methodology
Step 1: Prepare and Pound
Start by trimming excess fat from your chicken breasts. Place them between two sheets of parchment or plastic wrap and gently pound them to about ½ inch thickness. Don’t go wild—you’re not tenderizing steak here. The goal is even thickness so everything cooks at the same rate. Uneven chicken means dry edges and undercooked centers. A rookie mistake.
Step 2: Season and Setup
Set up your dredging station. One plate for flour (seasoned with salt, pepper, garlic, and onion powder). One bowl for beaten eggs. Another for the breadcrumb mix (panko + Italian crumbs + Parmesan + paprika + olive oil drizzle). Keep it organized—this is not the moment for chaos.
Lightly coat each chicken breast in flour. Then dip into the eggs, letting excess drip off, before pressing firmly into the breadcrumb mix. Press hard. You want those crumbs to cling like they mean it. Shake off any loose bits and place on a wire rack.
Step 3: Prebake the Crust to Perfection
Here’s where professionals differ from casual cooks: they pre-bake the breaded chicken before adding sauce or cheese. It crisps up the coating, locking in structure. Line a baking sheet with parchment and place a wire rack on top—this ensures air circulation. Bake the chicken at 425°F (220°C) for about 15–18 minutes, flipping halfway. You’re not cooking it fully yet, just building crunch.
The smell at this stage? Pure temptation. The toasted Parmesan and crumbs fill the kitchen with nutty, buttery aroma. It’s a good sign you’re on the right track.
Step 4: Sauce and Cheese—Timing Is Everything
Once the crust is golden, pull them out. Spoon a modest amount of marinara over each breast—don’t drown it. The sauce should kiss, not smother. Then scatter mozzarella on top, maybe with a little extra Parmesan if you’re feeling bold.
Slide the tray back into the oven for another 10 minutes or until the cheese bubbles and turns slightly golden at the edges. That’s your visual cue. When the internal temperature hits 165°F (74°C), they’re done. You’ve officially nailed the balance of crunch, melt, and flavor.
The Role of Quality Ingredients
Professionals always say it: good ingredients make good food. But here it’s non-negotiable. Your marinara sauce should taste fresh and slightly acidic, not sugary. If using store-bought, look for brands that list tomatoes as the first ingredient—not tomato paste or “tomato concentrate.” And please, don’t skimp on cheese quality. Real mozzarella melts differently than pre-shredded bagged stuff coated in starch.
Panko crumbs make or break this dish. Their texture is lighter, airier—unlike regular breadcrumbs that can get soggy fast. And fresh Parmesan adds umami depth you won’t find in powdery substitutes. Every small upgrade compounds into something extraordinary.
Common Mistakes Even Pros Make
- Skipping the rack – If your chicken sits flat on a pan, the underside steams instead of crisps. Always use a rack.
- Over-saucing – More sauce doesn’t equal better flavor. It just destroys the crunch.
- Cold chicken – Starting with cold chicken straight from the fridge slows cooking unevenly. Let it rest at room temperature for 15 minutes first.
- Using old breadcrumbs – They absorb oil unevenly and turn stale fast. Always check freshness.
- Low oven temperature – Anything under 400°F won’t brown properly before drying out the meat.
These small errors add up. Fixing them transforms your dish from “nice dinner” to “chef-level execution.”
Professional Variations and Twists
The Panko-Pecorino Combo
Swap half the Parmesan with Pecorino Romano for a sharper bite. It gives that salty-savory edge that cuts through the richness beautifully.
Air-Fryer Method
Some chefs use high-speed convection (like an air fryer) to cut baking time by half. It keeps the crust ultra-crispy while maintaining juiciness. Cook at 390°F for about 10–12 minutes total, flipping once. The result is stunning.
Gluten-Free Version
Replace the flour with rice flour and breadcrumbs with crushed gluten-free crackers or cornflakes. The crispness might even surprise you—it’s slightly lighter but still satisfying.
Expert Insight: Balancing Texture and Flavor
One of the hardest things about Chicken Parmesan is avoiding sogginess after plating. You’ve worked for that crunch, so preserve it. Here’s the trick: never stack or cover the chicken immediately after baking. Steam kills crispness in seconds. Instead, let them rest uncovered on the rack for 3–5 minutes.
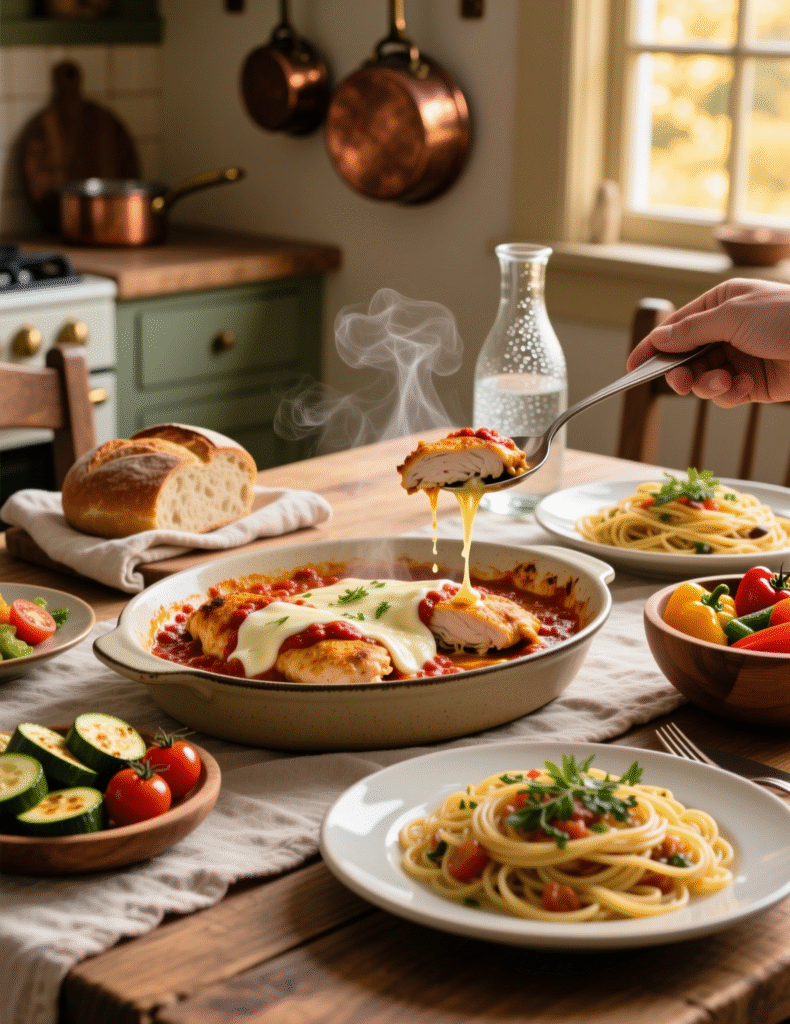
If you’re serving over pasta, place the chicken beside the noodles, not on top. You’d be shocked how many restaurants still get this wrong. Sauce the pasta separately, then slide your chicken next to it like the star it is.
Pairing and Presentation Tips
A proper Chicken Parmesan doesn’t need much company, but a side of buttered spaghetti or a crisp Caesar salad balances it beautifully. Some pros even serve it with roasted broccolini or a drizzle of balsamic glaze for contrast.
Presentation-wise, less is more. Don’t overload the plate. Slice one breast diagonally and fan it slightly—let the molten cheese stretch just a little for that visual drama. Garnish with torn basil leaves, not chopped (they bruise less and smell fresher).
A sprinkle of flaky sea salt right before serving adds a final pop of flavor that hits just as the cheese cools.
Nutritional Breakdown (Approximate Per Serving)
- Calories: ~480 kcal
- Protein: 46g
- Carbohydrates: 28g
- Fat: 18g
- Fiber: 2g
- Sodium: ~780mg
This recipe fits comfortably into a balanced diet, especially since it’s baked rather than fried. You get lean protein, modest carbs, and less than half the oil of a traditional version. Perfect for health-conscious chefs who still crave bold flavor.
Troubleshooting Texture Issues
If your crust isn’t crispy enough, here’s what went wrong:
- You didn’t toast the breadcrumbs first.
- You overcrowded the pan—airflow is crucial.
- You used too much sauce too early.
If your chicken turned out dry:
- It was overbaked past 165°F.
- You pounded it too thin.
- Or it rested too long before baking.
Baking seems simple, but the margin between perfect and overdone can be a minute or two. Use a digital thermometer if you’re serious about consistency.
Emerging Trends: Healthier Parmesans
There’s an interesting shift among professional kitchens—lighter renditions of Chicken Parmesan using almond flour, air frying, or even plant-based substitutes like seitan. Some chefs experiment with yogurt marinades to tenderize the chicken before breading, adding tang and depth.
Others are introducing fermented breadcrumbs—made from sourdough crumbs—to boost flavor complexity. It’s not mainstream yet, but it’s catching on in high-end kitchens.
The Secret Sauce: Flavor Layering
Flavor doesn’t just come from ingredients—it’s from layering. Season every step: flour, egg wash, crumbs, and sauce. This builds a foundation that carries through every bite. Even your olive oil choice matters; a peppery extra virgin adds a different note than a mild one. Professionals taste each layer individually before assembling.
Final Thoughts
Crispy Baked Chicken Parmesan isn’t just a healthier version—it’s a smarter one. It rewards precision, timing, and respect for technique. Every part of the process, from toasting crumbs to resting chicken, influences that final satisfying crunch.
Once you master this baked method, frying will feel like a shortcut you don’t need. It’s the difference between loud flavor and refined balance—between greasy indulgence and culinary craftsmanship.
FAQs
What makes baked Chicken Parmesan crispy without frying?
Toasting the breadcrumbs first and baking on a wire rack creates air circulation that gives a perfect crisp.
Can I use regular breadcrumbs instead of panko?
You can, but panko gives a lighter, crunchier texture that’s closer to a fried finish.
How do I keep Chicken Parmesan from getting soggy?
Avoid over-saucing and never cover the chicken right after baking—it traps steam.
What temperature should Chicken Parmesan be cooked to?
Bake until the internal temperature reaches 165°F (74°C) for safe and juicy results.
Can I make this recipe ahead of time?
Yes, bake the chicken ahead, then add sauce and cheese right before serving.
Why should I pound the chicken before baking?
It ensures even thickness, so the chicken cooks uniformly without drying out.
What’s the best cheese for Chicken Parmesan?
Fresh mozzarella with a sprinkle of Parmesan gives the ideal melt and flavor depth.
Can I make Chicken Parmesan gluten-free?
Yes, just use rice flour and gluten-free breadcrumbs or crushed crackers.
Is baked Chicken Parmesan healthier than fried?
Absolutely—baking cuts down oil and calories while keeping the flavor intact.
How do I store and reheat leftovers?
Store in an airtight container and reheat in the oven at 375°F for 10–12 minutes to retain crispness.

Marie Smith is a passionate recipe blogger, sharing easy, delicious, and creative culinary ideas that inspire home cooks to elevate everyday meals with flavor and simplicity.
